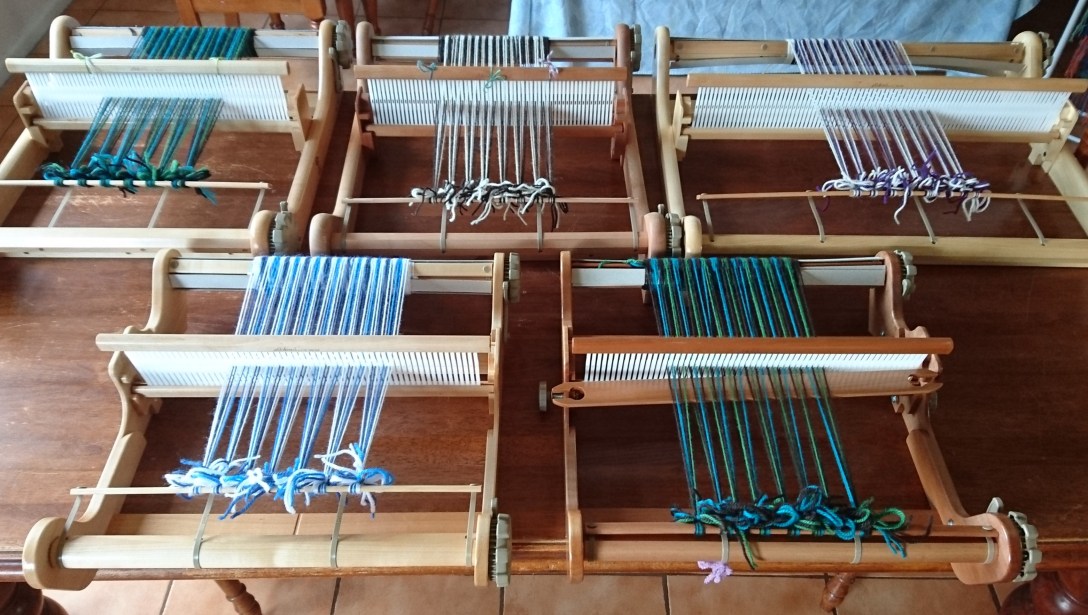
I know this question comes up a lot in weaving forums when someone is looking to buy a rigid heddle loom. Due to the size and cost, it’s not necessarily the type of item craft stores can hold in-stock in great quantity, so it can be hard to see all these looms together and compare them. However, I now have my little fleet of rigid heddles so I thought I could go through some differences of each model along with photos to help answer some of the common questions about Ashford’s rigid heddle looms.
Firstly though, you will notice that I only have Ashford brand looms here. That is because I’m in Australia and these looms are made in New Zealand – nice and close and easy to get, with lower freight costs. Buying looms made in the other parts of the world is still possible, but the freight adds so much to their cost, and since I need multiple looms it was the most financially sensible to buy my fleet from Ashford.
Rigid Heddle
This sometimes causes confusion, because there are 3 models of rigid heddle loom, and this one is just called ‘Rigid Heddle loom’! I will capitalise the words (Rigid Heddle) when referring to the model type to try to minimise confusion in this post.
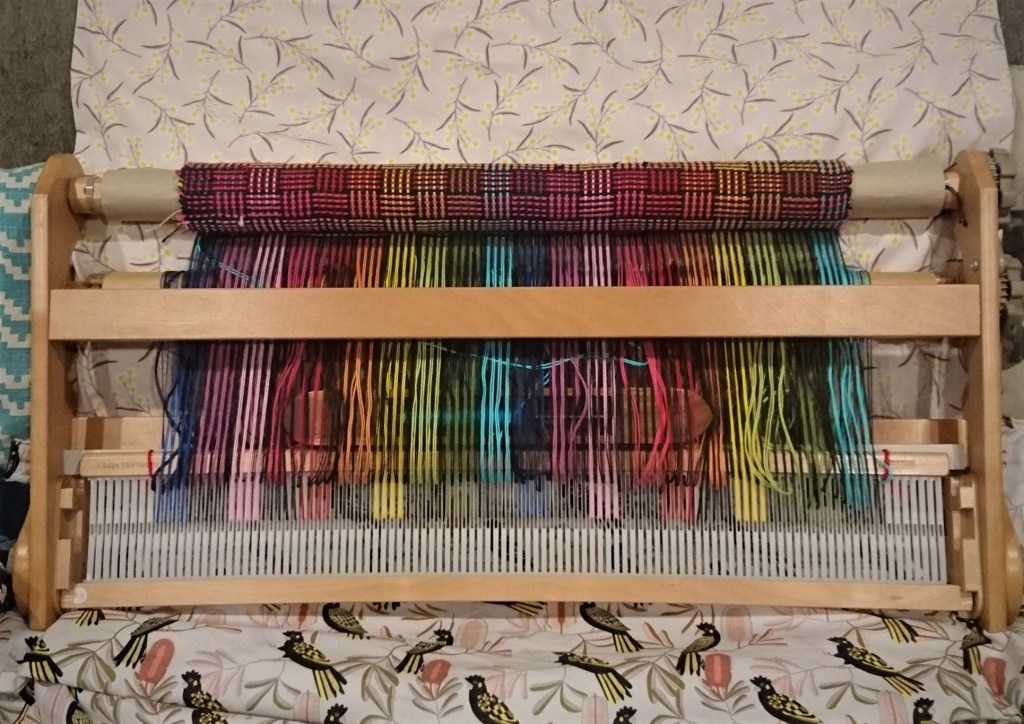
This model has the greatest range of sizes (widths) of the 3 models – 40, 60, 80 & 120cm wide (that’s 16, 24, 32 & 48 inches). The widths refer to the weaving width, the loom itself is slightly wider. All sizes come unfinished and require assembly but the instructions are very user-friendly and the process is quite quick with minimal tools needed (a screwdriver, some candle wax for the screws, and a rubber mallet is a handy tool for putting the handles on the front & back beams). The hardest part is waiting for the paint or timber wax to dry if you choose to put a finish on the timber!
These are very sturdy and stable looms, they are 61.5cm (24.5 inches) in length from front to back and current models all come with a double heddle bracket. The Rigid Heddle now also has the distinct feature of pre-drilled holes on the back of the frame, and you can buy a set of matching sized dowels to make a warping board on the back of the loom – a great feature if you want to work on longer projects, as you don’t need to buy a separate piece of (often quite large) equipment. The width of the loom will affect the maximum length of warp that you can wind.

Another add-on that you can get for the Rigid Heddle model is the Freedom Roller, which is an additional cloth beam that you can add to the front of your loom. This allows you to wind the weaving on to the second beam, so that it doesn’t build up on the front beam, which can gradually affect the angle of your threads and reduce the opening of the shed when you weave longer projects or particularly thick cloth – for example a rag rug.
Older models of the rigid heddle did not come with the double heddle bracket, but you can easily replace the single bracket with a new double one, these are available from Ashford dealers. Make sure you get the right version as there is also one for the Knitters Loom which is a different profile.
I have 40cm and 60cm rigid heddle looms in my fleet – very handy sizes. I have also woven on an 80cm loom once before and I did find the extra width a little cumbersome when carrying it (I was demonstrating at a show) so that is something to bear in mind if you plan to take your loom from place to place with you – it also requires more space to use it, and if you don’t have a stand you want to check you have a suitable sized table-edge to lean on. If you were investing in the 120cm loom I would highly recommend getting a stand for your loom!
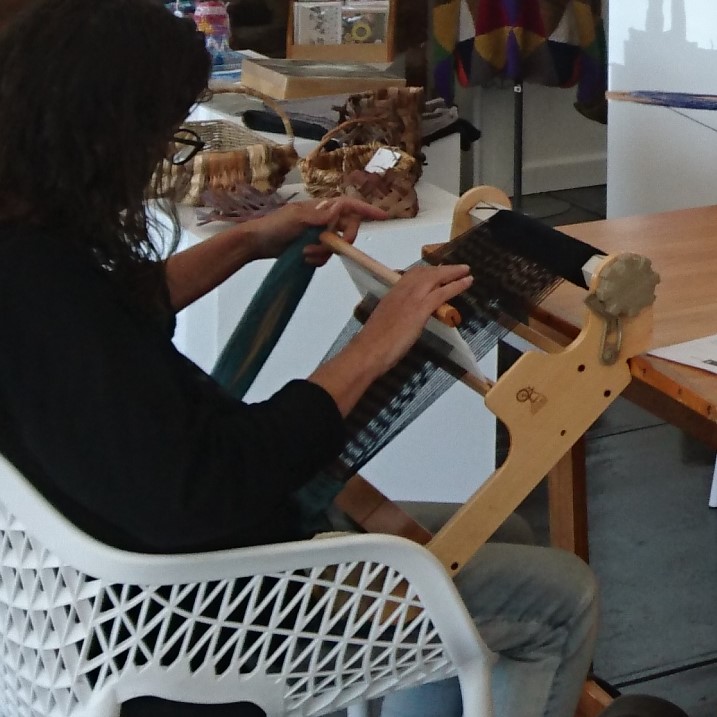
Ashford make compatible floor stands for all 3 models, however there is also a ‘table stand‘ available just for the Rigid Heddle model, which some might find more comfortable, especially if you are looking to work on tapestry and other weft-faced weaving styles and want the weaving area higher up/closer to eye-height.
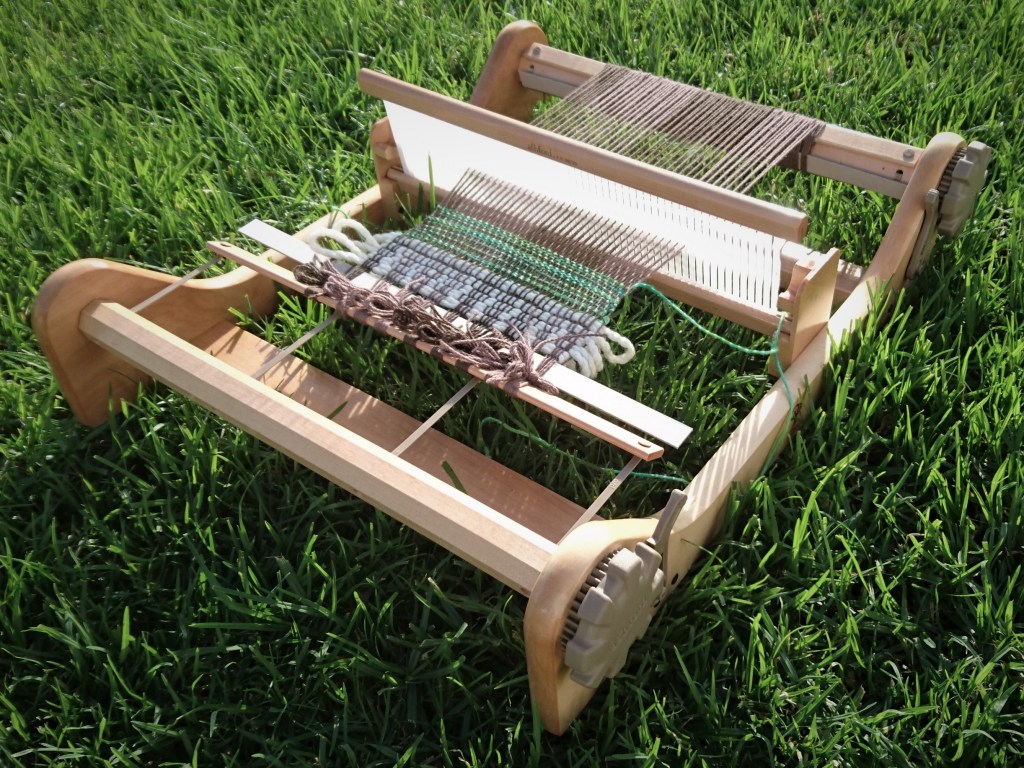
SampleIt
As the name may imply, this loom is suited to small sample projects for testing ideas, but can also be useful for those tight on space or budget.

This is the smallest rigid heddle loom in Ashford’s range, it is only 47cm (18.5 inches) in length and comes in two sizes (weaving widths) – 25cm and 40cm (10 & 16 inches). These are the lowest priced of the 3 models and also come un-finished and unassembled. There are slightly fewer steps to assemble this model than the Rigid Heddle model.
I have woven a few quick projects on this loom and I can see a few advantages and disadvantages, but overall the weaving experience was very similar to working on any of Ashford’s rigid heddle looms.
The shorter length from back to front of the loom affects where and how you might sit to weave. I found with this loom I could comfortably sit at my computer desk with the loom leaning on the edge of the desk – my computer chair is height adjustable so I could get just the right angle, and I could still easily reach the desk to grab scissors or new colours, or my cup of tea!
However at a regular height table with a regular dining chair, the shorter length does mean the loom sits on a steeper angle – you might benefit from using a cushion, either to sit on, or to rest the front of the loom on. There is a stand that can bought to match the loom but I have not used one myself so I cannot provide any review on how that changes the weaving angle and comfort.
I’d like to add though, as another option, I have seen this handy little loom used by resting it on the weaver’s legs in a reclining chair/sofa (example in this YouTube video). As a more light-weight loom this might be a helpful position for anyone who cannot sit upright in a hard chair for long.
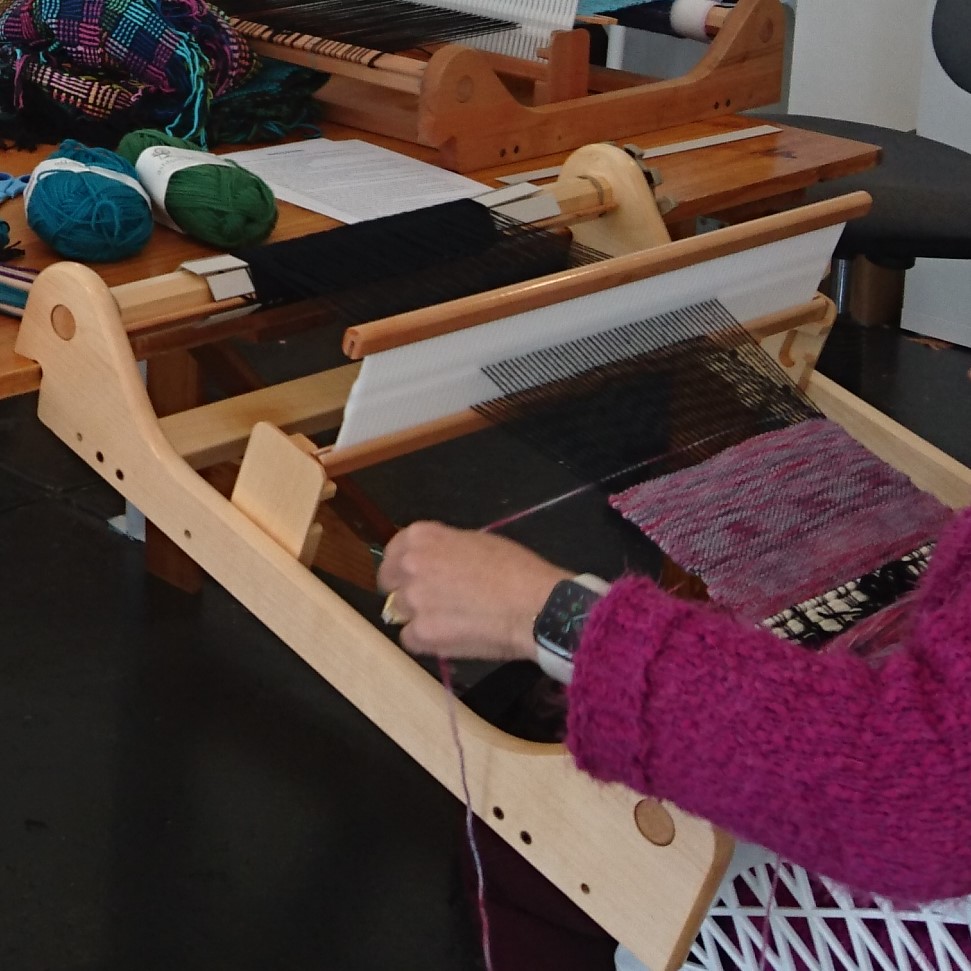
To me, the main disadvantage in the shorter length of the loom, is that you have a shorter area in which you can weave, so you need to wind the cloth forward more frequently – not a huge deal but it does sometimes break the ‘flow’ of your weaving. Sometimes taking a break is a good thing though!
It’s also worth considering that older versions of the SampleIt did not have a double-heddle bracket in them. As the bracket and side beams are all one piece, that means if you are buying an older model second-hand, you will not be able to change the heddle bracket to support double-heddle weaving – something to check before you purchase. There are ‘hacks’ for working with two heddles though if you see a really good deal!
Another thing to note is that the top & bottom frames of the reeds are the same profile as the Rigid Heddle looms so the 40cm reeds are interchangeable.
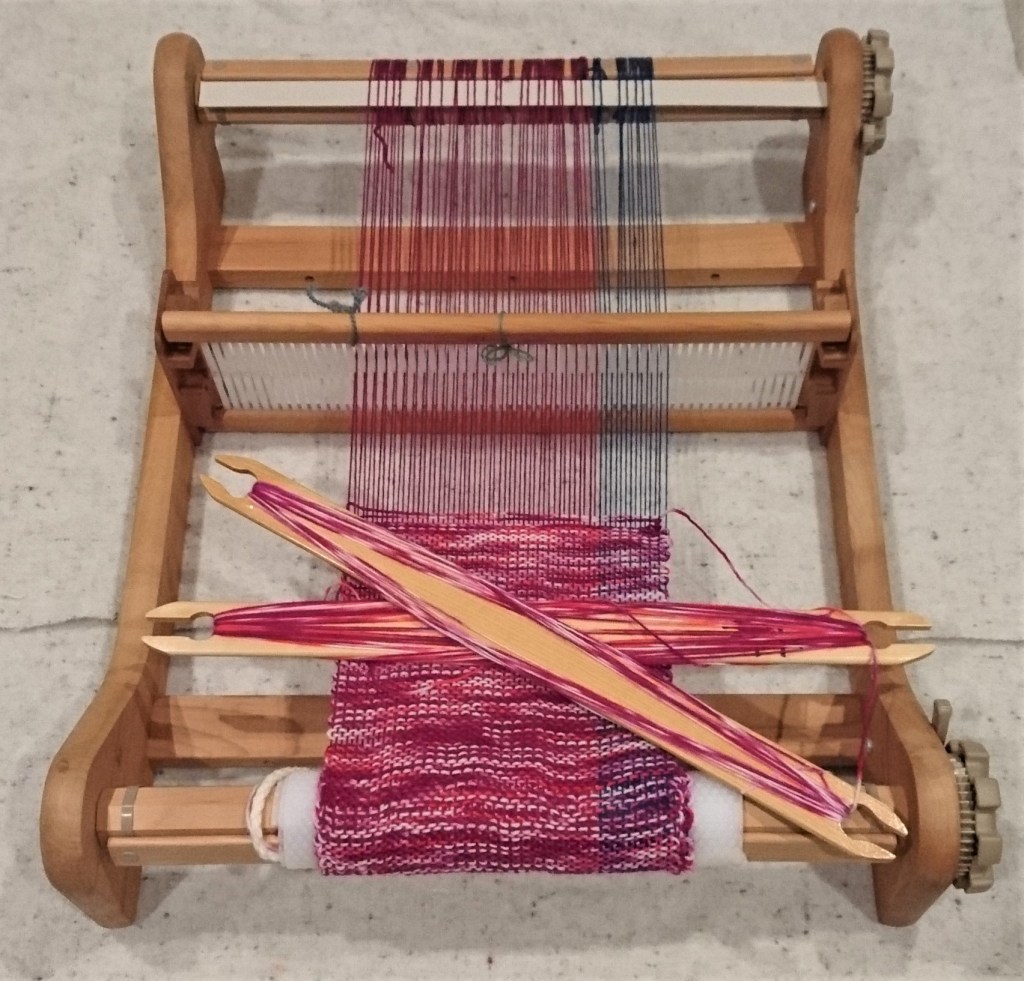
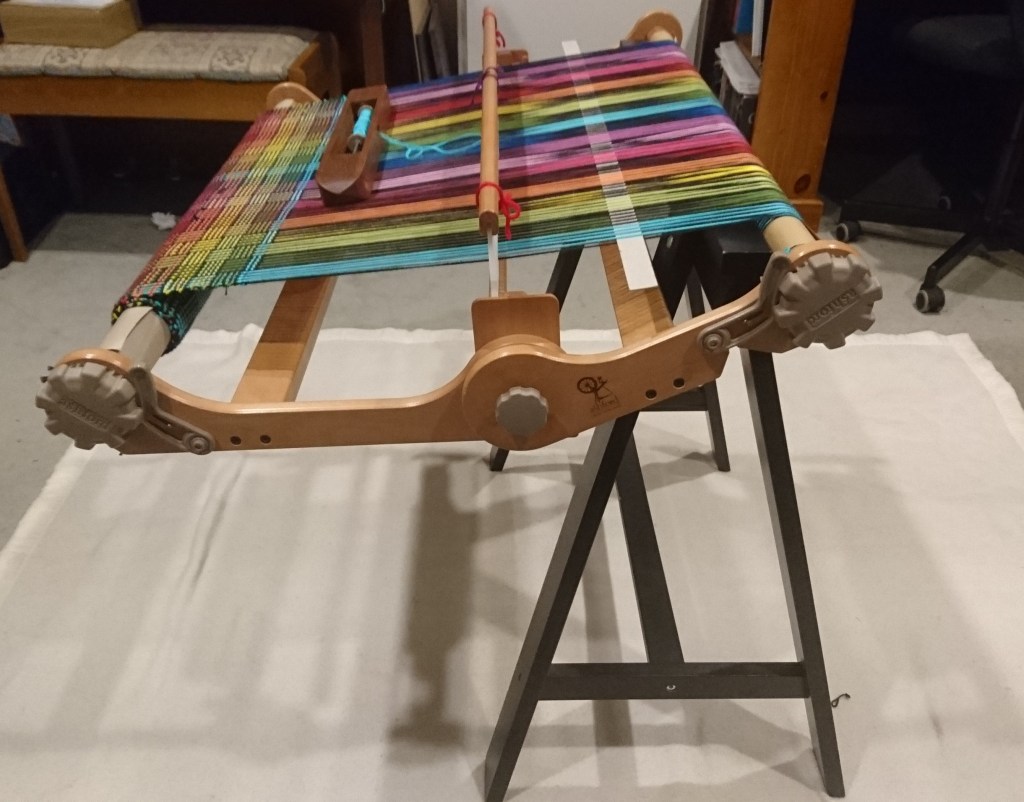
Knitters Loom
The Knitters Loom is a very portable loom, (though perhaps not quite as easily portable as a knitting project) but it can fold in half with your weaving in-progress and comes with a carry bag to take it with you. This was my first loom and I did indeed fold it up and take it with me everywhere for many, many years.
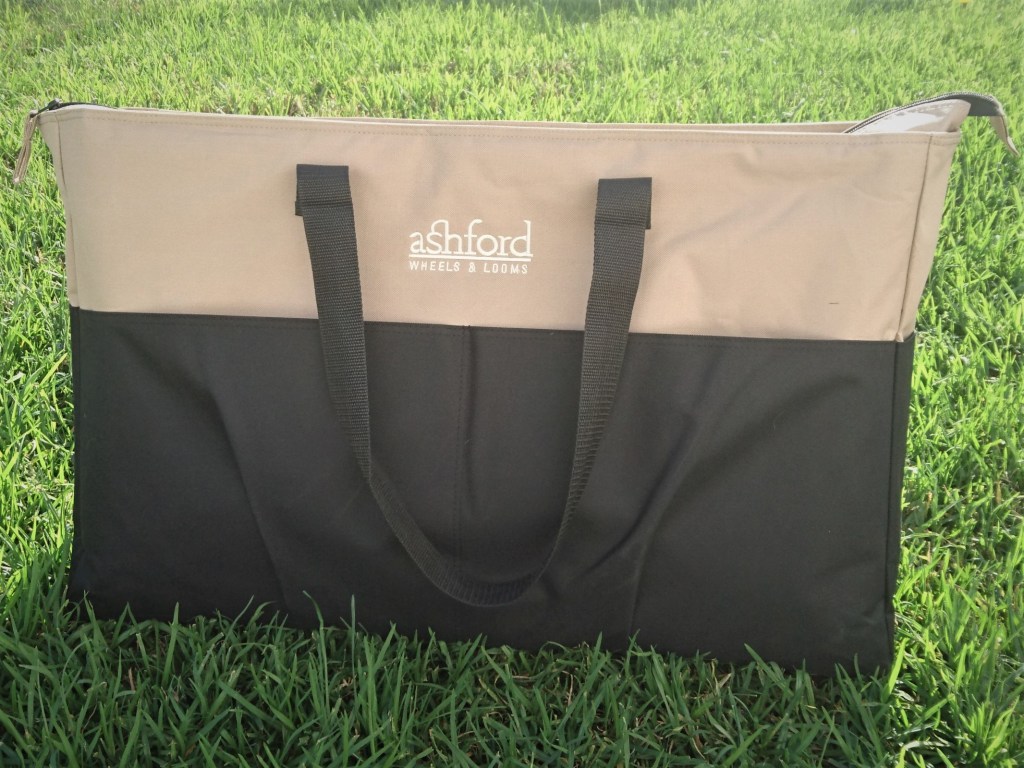
These are the most expensive of the three models due to the folding design, but it also comes pre-finished and pre-assembled and now includes the carry bag. This model comes in 30, 50 and 70cm widths and comes with a double heddle block (older models did not but a replacement block can be ordered as with the rigid heddle model, check you are ordering the right one). The overall length is 60cm from front to back.
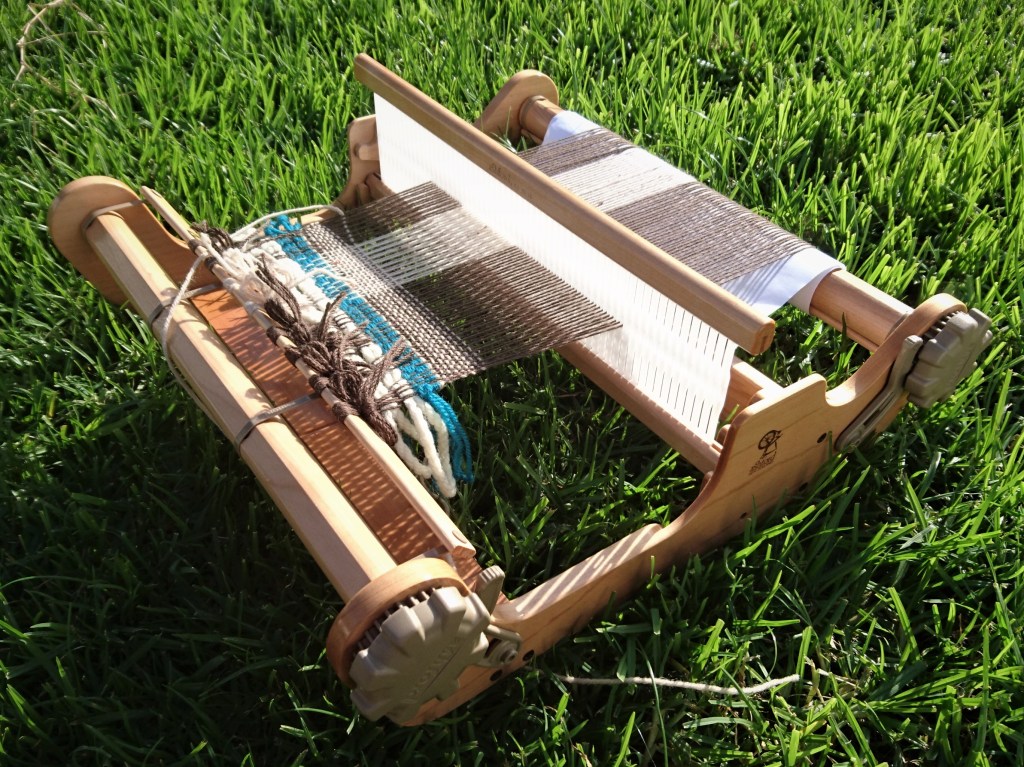
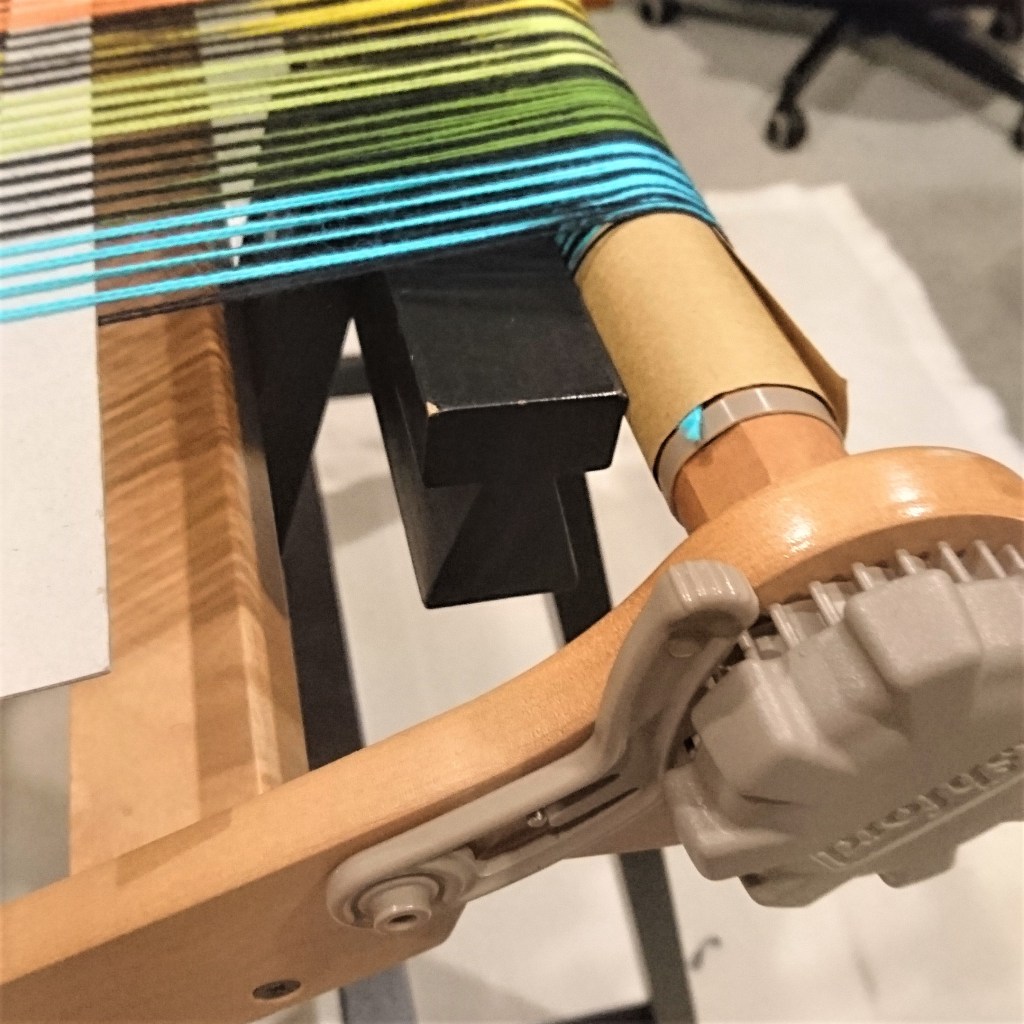
Aside from the folding feature, another difference I have noted with the Knitters Loom is that the profile of the top and bottom bar of the reeds is different (square, not rounded) so it does make it a little harder to roll the reed out of the heddle block. The heddle block is also slightly further forward than the Rigid Heddle model, so you have a tiny bit less weaving space (~2cm / 1 inch).

Another thing to remember with the Knitters Loom – when you are warped and ready to weave be sure to first loosen the middle pins and tilt the back half of the loom up until the plastic ‘L’ brackets fit into the notches behind the heddle bracket. If you don’t do this then the angle of the threads will be slightly off and you won’t get a clean shed. This has to be one of the most common troubleshooting issues I’ve seen for people new to the Knitters loom.
It may just be me, but I have found the Knitters loom (specifically the 70cm width) feels a little less stable when weaving with stiff fibre such as cotton or linen under high tension – it feels like it wants to skew diagonally a bit, and the hinge pins need to be checked and tightened more often when working on such projects. I did not get this feeling on the Rigid Heddle model as the sides are all one piece so there’s no moving parts or points of weakness. I’ve not noticed that this affects the finished projects as such, just that it feels a little different while weaving.
However, if you are looking for a wider loom, I do heartily recommend the Knitters for the portability – as I said above, I found the 80cm Rigid Heddle much more cumbersome compared to the folding 70cm Knitters Loom despite the difference being only 10cm width. The biggest advantage of rigid heddle looms is not strength and stability, but convenience, flexibility and ease of use.
Again, there is a matching stand available from Ashford, but I don’t have one – instead I use this slightly odd but surprisingly stable alternative – a trestle leg from Ikea! The drawback is that the height is not adjustable so it works best with either a low seat like the sofa, or an adjustable computer chair that can be lowered to suit – incidentally those are the places I prefer to weave anyway. A cosy sleeping Labrador curled around me while I sit on the sofa and weave is a lovely way to spend an evening.


Am going to make a tension device for Ashford Ridgid heddle loom, using 1″ dowels. Was wondering if you have made one? Was hoping someone makes one for RH looms? I know I’ve seen one made from dowls for a floor loom.
Hi Carolyn,
I’ve tried an unsophisticated version of warp tensioning with rods – I had some metal tubing from some flat-pack furniture (a wardrobe rack that was no longer useful) that was about 1/2 inch diameter and I used I think 4? of them held together with elastic bands. It seemed to work ok but I only tried it once, so I can’t really say how effective it was or what adjustments I’d make…
I usually weave with wool yarns and they’re somewhat forgiving with tension, and I usually direct warp the loom. Because a lot of those projects are short and narrow, it’s fine to wind the warp on by myself and I don’t notice many tensions issues, and if I do they are manageable enough over a short warp. Depending on the cause, tension issues tend to compound over a long warp, and it’s harder to get even tension across a wide warp, so that’s probably when I’d consider using tension rods again.